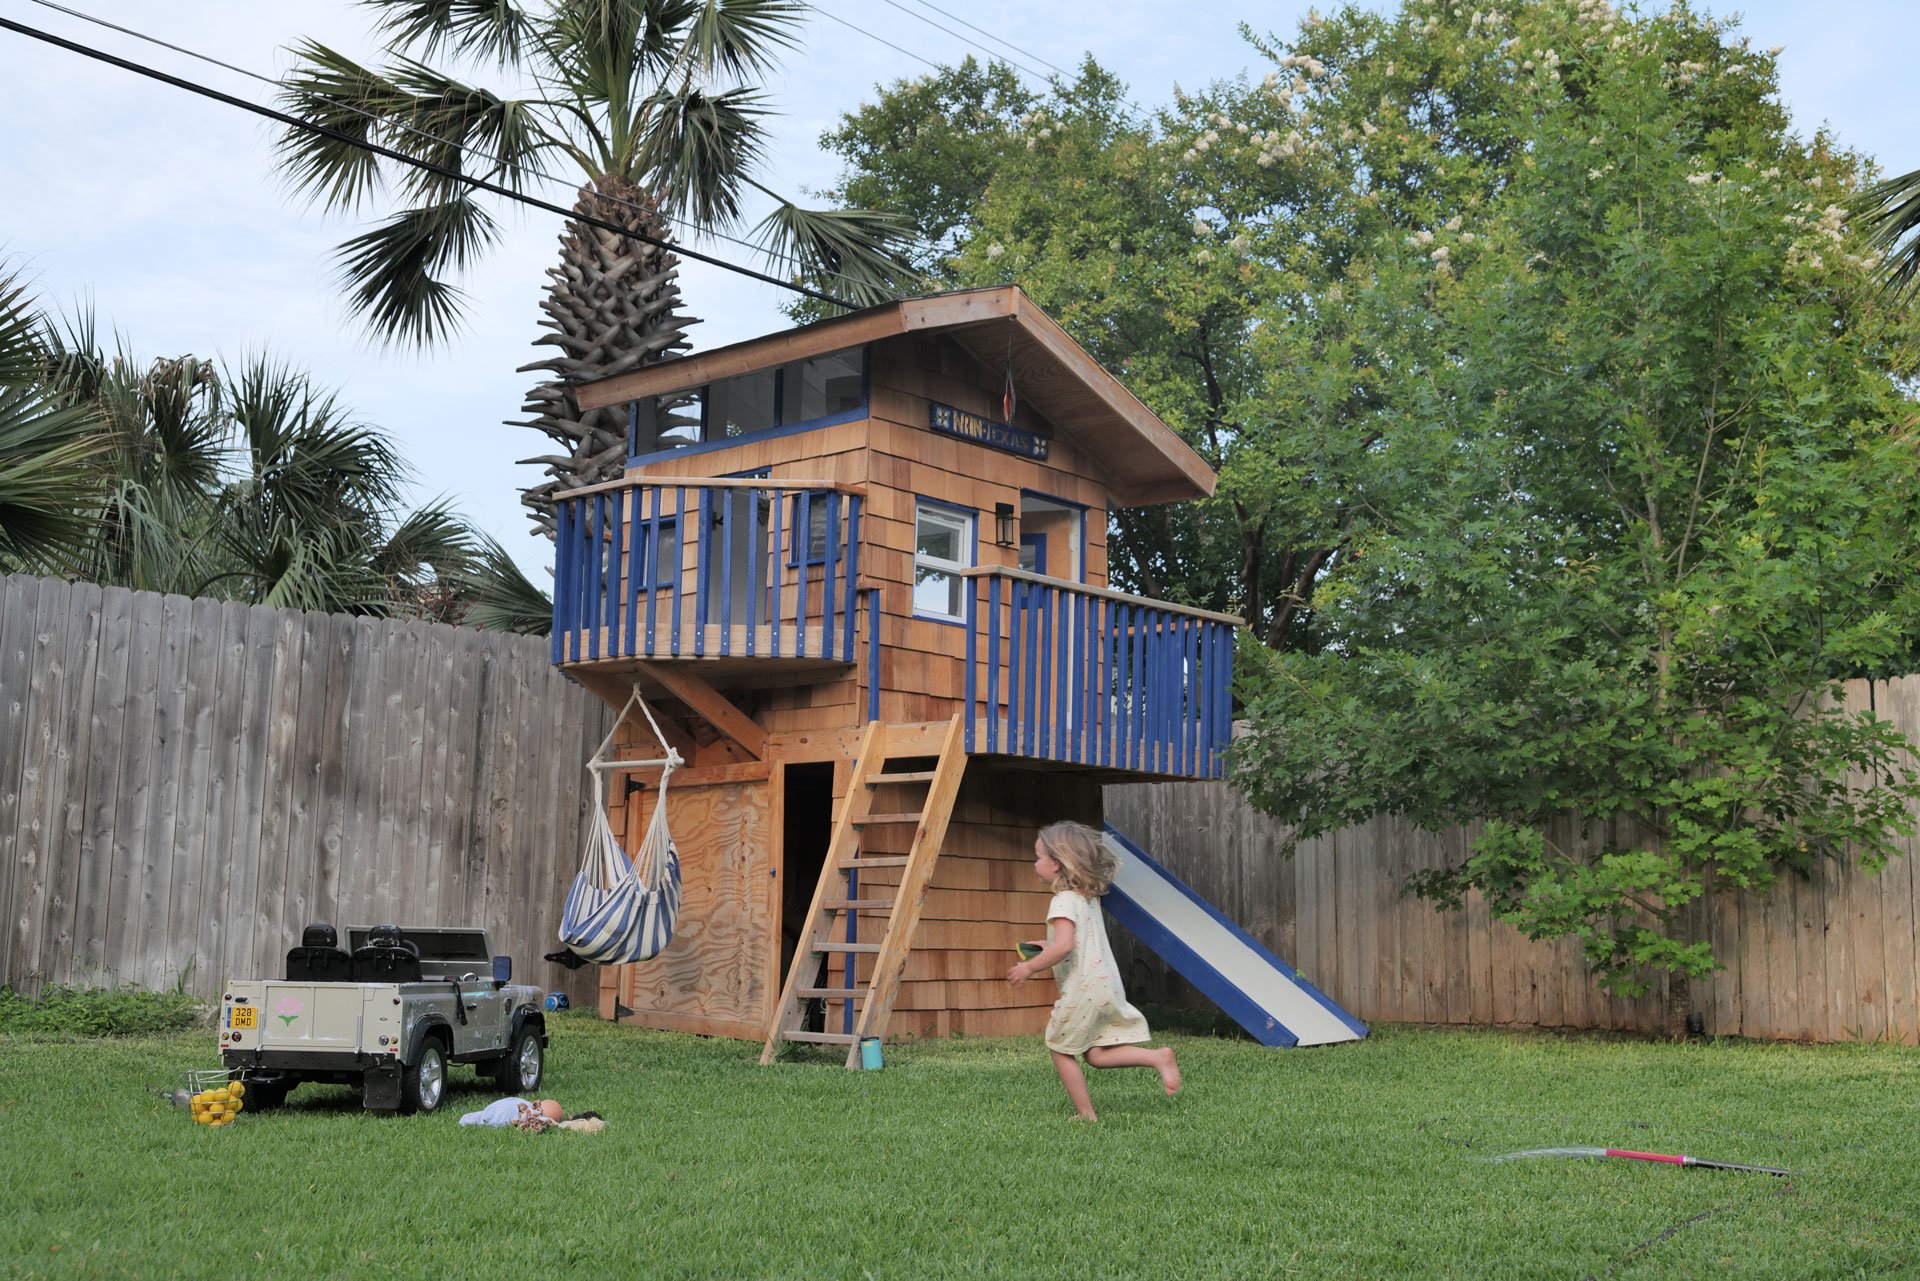
There are two things I distinctly remember wishing for when I was a kid- a ride on car and a sick fort that I could play in. Now that I’m a parent I get to do those things for my kids. Here is the journey of how I designed and built a playhouse called the “Nan-Texas”. I studied architecture in college because I wanted to design and build spaces to enjoy life in. Architecture School never panned out but I got the knowledge I needed to do stuff like this! Here is the process of the Nan-Texas, a custom playhouse I built for my daughters.
Design
Our house had a 6’X6’ cement slab in the NE corner of the property- I assume there was a shed on it at some point. The pre-existing slab saved me a lot of time- I probably wouldn’t have built this thing if the slab wasn’t there. I looked around for playhouse kits- there are a couple options and all are pretty expensive. Also, most kit playhouses are either dark brown, navy or lemon yellow plastic- those colors suck and would get too hot to play on in the summer. So I figured I’d design and build a good looking playhouse. I called my brother about 2 weeks before christmas and told him my plan- I wanted to build the frame on christmas eve in my neighbords yard then carry it over to my backyard and have it look like santa laid out a lot of materials and an instruction manual on how to build the thing. My brother, laughed and said good luck. So I cut santa out of the equation (i wanted credit for this thing anyway)- and told Nona on xmas day that I was going to build her a playhouse for christmas, construction started December 26th 2022.
My brother Enzo is a blacksmith, welder, fabricator, effects guy for movies, pyro-technician, and comedian- he had a couple weeks off work for the holidays and was able to help get the project off the ground. He gets credit for all the important things such as- making sure the building is level, true to square, and structurally sound. I had a great time watching him operate a combo square, and I learned a lot.
I also need to give HUGE thanks to my friend Trey for lending me his air compressor and mitre saw for a month and a half! This project was wildly over budget- but If I had to buy/or rent the tools needed to do the job it would have been easily an extra $2000. Another thanks to my neighbors for helping me lift this roof onto the structure and putting up with the noise during the holiday season. At one point I heard my backyard neighbors granddaughter start crying because the sound of the miter saw scared her.
Inspiration:
I was making it up as we went along- originally the playhouse was going to be decking- like in the 3D model above. When it was time to decide on the roof shape I got an idea- What if the playhouse looks like Grandma and Grandpa’s house in Nantucket?! This was great because it would also determine the siding of the playhouse, and give an overal ‘theme’ to the project.
Around this time I realized that the posts in the railing were not up to code- one of Trey’s kids stuck his whole body out of the railing. So I doubled the amount of posts. I wish I had supplied the paint for this house like a normal person- instead, every week i’d go to lowes to buy all “Satin Iris Blue” paint cans as they had. I probably ended up using 25 cans of paint.
SPRING! Finally the grass has turned green again and the oaktree’s leafs have grown out. I was particularly excited to see how the oak would shade the structure. My father in law and I planted that tree about 4 years ago after Nona was born. It has tripled in size since we planted it.


